
This article provides both written and visual instructions for how to import data from a temporary S3 bucket to a project in Review Manager.
Production data from other parties are often loaded into Reveal from the instance and project’s S3 data bucket via Review Manager. We have discussed importing documents from S3 storage into Reveal Processing Discovery Manager in Using S3 Browser for Importing Documents, but this workflow addresses loading productions into Review using Review Manager. This is data that is uploaded to a temporary S3 storage bucket and consists of formatted production documents with data load files.
Loading Third-Party Production Data from S3 to Review Manager
- Log in to Review Manager with an Administrator account.
- If the project into which the production is to be loaded is not yet created, create the project in Review or Review Manager.
- Open S3 Browser and create or open the project folder within your bucket.

- Upload the production data to a sub-folder of the S3 project folder clearly labeled with the production name.
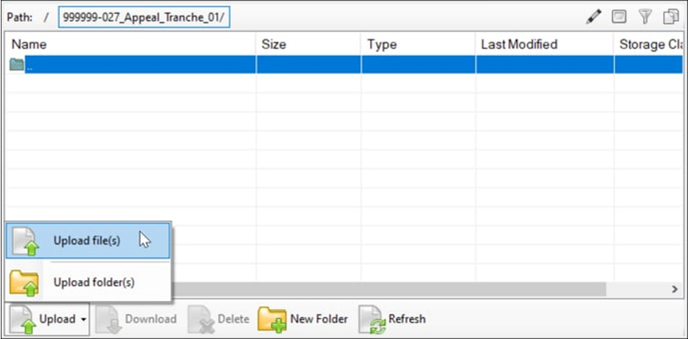
- In S3 Browser, copy the temporary S3 bucket path (just their root directory).
Note
When using S3 paths in a load file, there can not be any spaces in the path. The easiest way to get around this is to update the path name to instead use underscores, dashes, and no spaces. This is done by right-clicking each of the folders with spaces, then selecting Rename.
- Open the third-party production load file in a text editor.
- Replace the root paths in the third-party production load file with the root path copied from S3 Browser.
Note
By default, a Windows path uses backslash characters. All backslashes ( \ ) need to be changed to forward slashes ( / ) for S3. - Save the edited load file (recommend saving it with an _UPDATED filename suffix to confirm this is the version to use while preserving the original).
- Expand the Import pane in Review Manager.
- Open Documents to specify, test and import. See Load Data - Third-Party Production for details on this process.
- Pay special attention to the Use Data File Path checkbox in the Import Documents screen.

- Absolute Path Imports- When importing documents using a load file with fully qualified paths (that is, full URL or local drive letter folders), ensure that Use Data File Path is checked. The Source Directory field is greyed out because source directory will not need to be specified, since Review Manager will instead rely on absolute pathing to locate the corresponding file on the system or network. If you have updated the load file as described in Item 7 above, this is the proper selection.
- Relative Path Imports- When importing documents using a load file with partial paths, ensure that Use Data File Path is unchecked. Review Manager will make the necessary adjustments so that all relative path scenarios are treated the same. The Source Directory will need to be specified. If you choose enter the S3 temporary bucket root path in Source Directory rather than the load file, leave Use Data File Path unchecked.
- Select Test Mode Only and click Import Data to test the document load for pathing or other errors.
- If all is correct, uncheck Test Mode Only and click Import Data to load the third-party data.
- Pay special attention to the Use Data File Path checkbox in the Import Documents screen.
Last Updated 10/10/2024